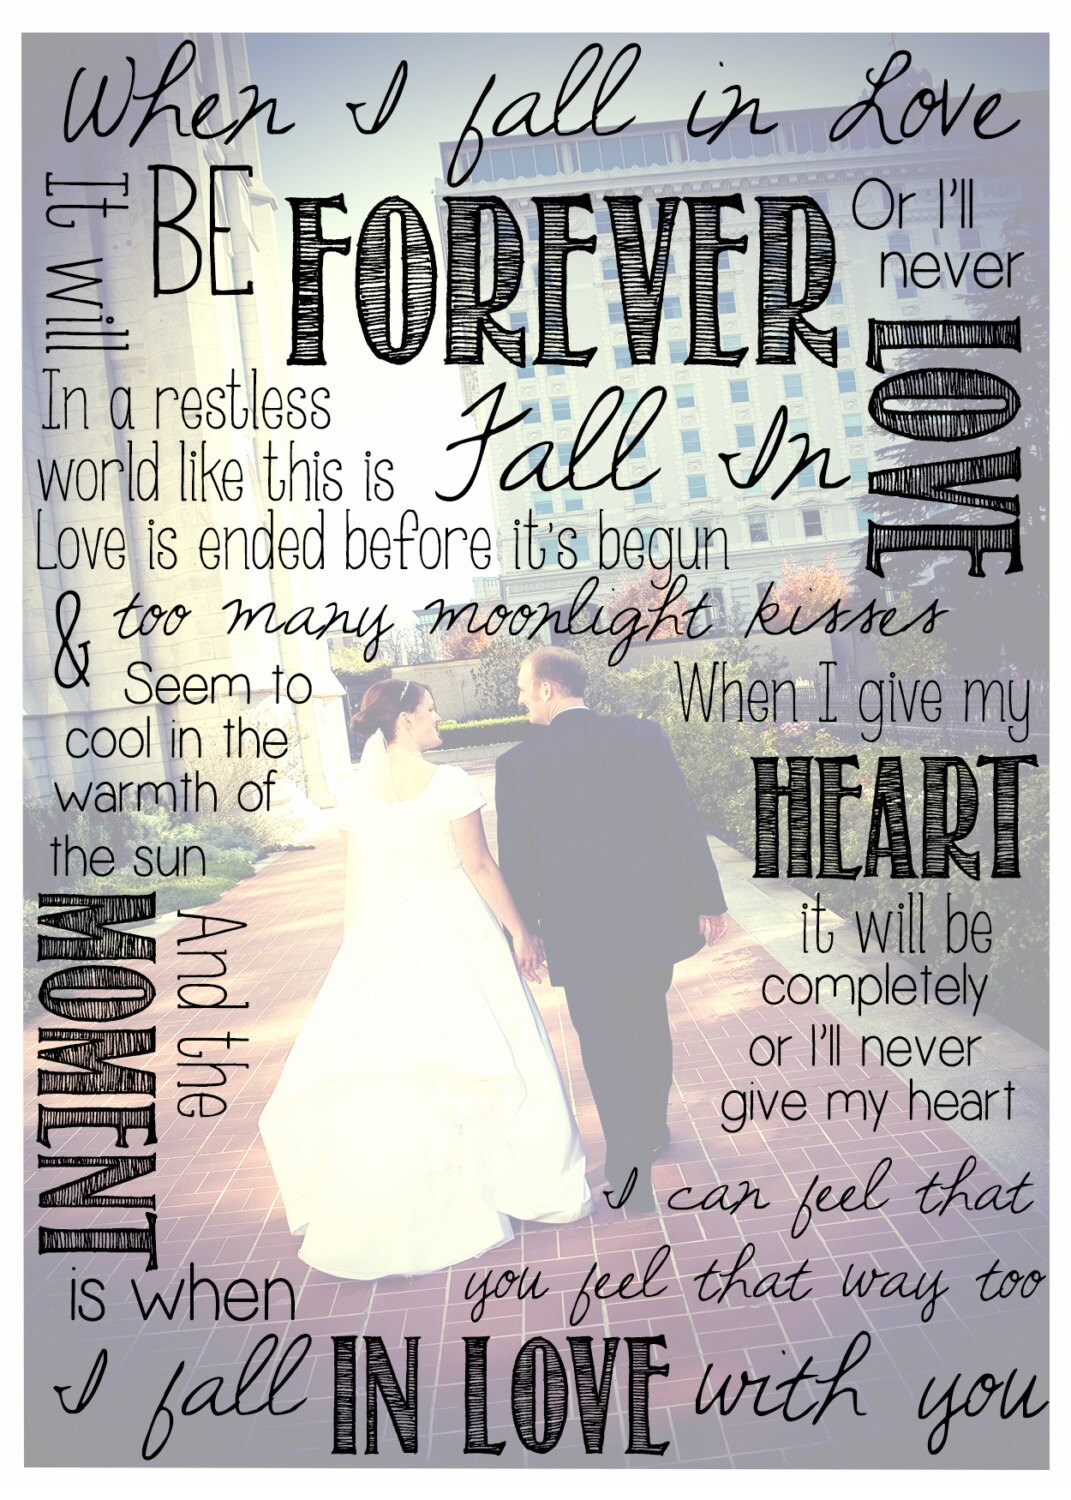
* Want one of your own? This is available (personalized of course) on my Etsy Shop. Stop by and use coupon code: N2CBlog10 for 10% off your total purchase.
Showing posts with label personalized. Show all posts
Friday, May 24, 2013
Personalized Wedding Picture...
* Want one of your own? This is available (personalized of course) on my Etsy Shop. Stop by and use coupon code: N2CBlog10 for 10% off your total purchase.
Thursday, April 14, 2011
Memorabilia Matt
I have the sweetest husband who began collecting ticket stubs, mini golf score cards, programs and such during our time dating. I added in a program from our first date, a card from flowers he sent and our plane ticket stubs from going to meet my parents. I then got a double matted picture frame (with slight height/depth difference). I used a craft glue stick to glue the items all over the top matt. I layered the larger pieces down first and then the small. I trimmed off the excess around the inside and outside edges with an X-Acto knife before layering other pieces. I then put one of our engagement pictures in for the photo. This was my one year anniversary dating gift to my husband. It hangs in our house today and reminds us of all the fun times we had in our first year together.
You could do a similar theme or layer other pieces of memorabilia or even other photos onto a matt to create a similar effect. This is one of my favorite crafts that I've ever done and I still get a lot of compliments on it.
*as far as I know this is a Notion 2 Craft Original. I did not find this project online but I'm sure it has been done in some way similar.
Double Float Mat found at Michaels. Purchased in-store...wait for a sale or a coupon or sign up online for coupon emails (usually 40% off an item)
Picture board
We have probably all seen these at craft stores over the years. This is one that I made a few years back for pretty cheap. I had the framed cork board at work and decided to spruce up my office with some personal touches. I bought enough fabric and batting to cover the piece and then added on flowers I had on hand and a butterfly that came with flowers my husband sent me.
I hot glued the batting on first and made hospital corners on the edges to keep it neat and tidy. Next I stretched out the fabric across it, first somewhat loosely vertically and then snugged it up horizontally to avoid creases and folds in the fabric. Once the fabric was all securely glued down I added my flowers and butterfly.
Voila! There you have it...a decorative cork board for pictures with minor cost and less then a couple hours spent on it. This was considered under $10 as I had the cork board on hand.
Subscribe to:
Posts (Atom)


