Showing posts with label under $10. Show all posts

Friday, June 15, 2012

Free Craft Friday: Applique and Disney Outfits

Every leap year my husband's family celebrates their tradition of going to Disneyland together.  I have enjoyed this tradition twice with his family now and I think it's a great way to not overdo Disney and still keep it magical.

For this trip (February 2012...old project haha) I decided to make the girls a Minni Mouse shirt.  I had found some red with white polka dot material in the remnant bin at Hancock Fabrics a few months before and knew I could put it to use for a fun Disney outfit for them.  A couple weeks before the day I found that I hadn't even touched the project so I went to work.  I searched online for a template for Mickey Mouse ears and discovered people wanted to charge me $4 or more.  No thanks.  I hopped on a Google Docs and made a super simple template myself in about 10 minutes. Mickey Mouse Template here (let me know if it doesn't work).

Next I looked up a few different tutorials on doing applique (Plaid Apple and Sew Mama Sew were my go to blogs on this). 
materials needed (polka dot material not present)
Minnie Mouse Onsie / Applique

Materials:
-onsie or shirt
-red and white polka dot material
-black material
-Wonder Under or other fusible interfacing
-stablizer or you can use lightweight interfacing (keeps your stitches from puckering)
-sewing materials (sharp sewing scissors help a lot)
-iron

Step 1. Prewash your fabrics and onsies. I am horrible at this but it's an important step especially with applique and sewing different fabrics together.

Step 2.  Trace and cut your template for applique from the Wonder Under.  Mickey made it easy as I didn't have to reverse the image or such but keep that in mind depending on how complicated you get. Iron on the Wonder Under peice to the wrong side of your fabric.
 Wonder Under cut into pattern and ironed on to "wrong" side of fabric"

Step 3.  Peel off the paper backing of the Wonder Under once your peice has cooled.  This was my first time doing applique and I swear this was not a step in any tutorial and I tried to iron the peice on with the paper attached (silly me). 
peel off the paper leaving the adhesive behind

Step 4.  Iron the sticky side down of your fabric peice to the shirt or item you want it attached to.

Step 5.  Iron on stabilizer or pin it to the inside of your garment.  This will keep the stitching even and prevent ruffle and other uneven looking applique messes. 

Step 6.  Using a sewing machine or by hand, sew around the outside of the applique.  Try to keep your stiches close to the border and very even...overlapping to prevent fray or allowing for fray if you wish, depending on style.

Gathered Skirt (Addition)
After the applique onsie/shirt was complete I used the red and white polka dot material to add a simple gathered skirt to each onsie. Then I simply put a pair of red and black leggings under each girls' outfit and we were good to go. Literally finishing touches (the bows) were added only hours before our flight.

Step 1.  Sew hems on both top and bottom of skirt.  Then sew a long "baste" stitch with your machine along the top of the skirt.  DO NOT reverse stitch or "lock" your baste stitching.
 gather material with a basic sewing machine..."baste stitch" and keep your thread long at both ends

Step 2.  Keep the thread long at both ends of the peice of fabric.  Once you have the baste stitch complete find the bottom/bobin thread (bottom of hem/stitch) and gently pull on this and gather your skirt across. 
pull the bottom thread or threads in this case and voila...cute gathered skirt

Step 3.  Pin the skirt to the shirt or onsie to get your spacing/gathering just right and then sew the back seam together with right sides together.  Once back seam is complete then sew the skirt to the onsie or shirt.  

finished product without the bow


Basing my under $10 estimate on $3 onsie, $2 remnant fabric, $5 Wonder Under (not using nearly all of it) and having some other supplies on hand.
My girls living it up in Disneyland with their Minnie Mouse themed outfits

Sunday, January 8, 2012

Birthday Party -- Tiered Plate

I raided pinterest.com for birthday party ideas.  I wanted to do cupcakes and I wanted something fun and in the color scheme still to put the cupcakes on.  I found many different tiered plate ideas (candlesticks, small juice cups, etc) but nothing stood out to me.  Then I found this project and fell in love with the look and the idea.  I won't be posting a tutorial on this as I think Backless Shirt blog has an awesome instructional.
my finished products
tiered plates at hard work...holding up delicious cupcakes

Friday, December 23, 2011

Free Craft Friday -- The No Mantel Solution

I wasn't going to post a Free Craft Friday today.  But would it really make since to post a craft for Christmas after Christmas?  So I give you my "we don't have a mantel or fireplace" solution.  I saw the idea of using a curtain rod with stocking hangers on Pinterest but we don't have a mantel or shelf in our home to put our stocking hangers on so I decided to try something different.

I dug out a curtain rod that I never used and picked up some removable adhesive hooks from the store.  I realize these aren't the best looking hooks (I wasn't sure it would work) but I would definitely put in a few more dollars for the nicer looking ones if I did this again.  Hopefully you can look past the tacky appearance to see an idea that could work for you if you don't have a mantel or fireplace.  Our stockings were hanging off of a floor lamp prior to this so this is a definite improvement.  I hung this over our staircase by the front door but any wall would work.
Merry Christmas and Happy Holidays!!

*once again N2C Original means I didn't find the idea (at least not exact with this one) on another site to credit them.

Friday, November 18, 2011

Free Craft Friday -- Tomato Cage Topiary

I saw variations of this on pinterest.com with very little help in the matter of how to make one.  So most of this is me winging it but I thought I'd share how I did it.

Tomato Cage Topiary / Christmas Tree

Materials:
-tomato cage (I think mine are 4 ft)
-wire or wire clothes hangers (I tried to do mine on the absolute cheap)
-pliers
-wire cutters (somewhat optional; I didn't use mine)

*under $10 including cost of lights and tomato cage (I believe); cheaper or FREE if you have either on hand.

Step 1.  Turn your tomato cage upside down and secure the legs together in a point using the wire/hanger.  I tried hemp tie at first so ignore that part.


If your tomato cage is like mine there it too much space between the wire to have a nice rounded shape when wrapped in garland or lights.  It comes off looking more like a triangle than a "tree".

Step 2. Keep you tomato cage upside down.  Unwind you wire hanger and straighten it out.  Place your wire/hanger in between two cage wires to fill in space.  Put your wire on the outside of the tomato cage wire to help strength it and keep its shape when wrapped with garland or lights.

Step 3.  Using the top wire (holding the legs together) hook your wire/hanger over it.  In order to use one hanger for the height of the "tree" this hook was rather small made by bending it over itself with the pliers, placing it over the wrapped wire and then pinching it closed with the pliers.

Step 4.  Stretch the wire to the bottom rung wire of your cage and then loop it over like the top and pinch it shut with pliers.
Step 5.  Repeat steps 2 through 4 to fill in the other spaces around the "tree".
Finished cage/"tree" should look something like this; the top swirl wire is just my excess from wiring the legs together.  Click on the picture to enlarge it if this helps.

Step 6.  If you do place it into a pot or on the ground it never hurts to secure it.  This could be done with little stakes or even bent pieces of hanger looped over the bottom wire and stuck into the ground. 

Don't love this picture.  I think they look better in person but maybe I'm a little biased.

I wrapped lights around mine but you could also use garland and other decorations.  I think next year I may try a combination of lights and garland.

* I also saw instructions on how you can use this for ivy plants or other vine growing plants in the summer.  Awesome!

If you happen to use this tutorial or link to it I'd love to know.  Please leave a comment.  Thanks!

Friday, October 28, 2011

Free Craft Friday -- Tea Dyed Onsie or Shirt

*I heard about tea dying through a Pinterest pin and loved the idea and decided a little interchangeable flower would be the perfect finishing touch*

Materials:
-new pre-washed onsie or shirt (used onsies or shirts will cause uneven dying; I tried this first and had darker stain around drool prone spots)
-Black Tea (I also tried Koolaid and Green Tea...Black seemed to work best)
-Lace or embellishments
-needle and thread or sewing machine
-bowl and boiling hot water


Step 1 : Boil water and place tea bags into water.  I used about 4 cups of water and 4 tea bags.  Let the tea soak and stir it to mix evenly.
Step 2 :  Soak your onsie in the tea-water.  I left my tea bags in.  It may work better for even color to take them out.

Step 3 :  Wring out minimally and air dry onsie.  Once it is air dried then wash and dry it in the laundry.

Step 4:  Lay out lace embellishment over the shirt.  Cut extra length on both sides.  For some reason my lace ran shorter as I sewed it on (I'm sure a pro sewer could tell you why)
Step 5:  Pin the lace loosely down on the garment to keep it in place.  Sew the lace down.  I used the thicker trim of my lace to hide the thread and only sewed the top edge.
*hopefully you should have a little excess lace on both edges of the garment like this*
Step 6:  Sew the hanging lace down into the seam of the onsie.  Make sure you don't catch under-layers of the onsie when doing this.
Step 7:  Trim off the excess lace.  Repeat steps 4 - 7 to add layers of lace if desired.
Step 8 (optional):  Sew on a loop to attach embellishments to.  I used an alligator hair clip that I use with flower headbands to gauge the width of the thread loop.  I then sewed over it 5 or 6 times to make a secure loop to attach embellishments to.  Tie this off on the inside of the garment.
 *finished shirt with lace and loop.  The thread loop somewhat blends in also so you don't have to attach anything if you chose*

Friday, October 7, 2011

Free Craft Friday -- Paper Tree

I took this idea from Everyday Mom Ideas that I found on Pinterest.com and then tweaked it a little for my own preference.  Their example is for a spring tree (bright colors) and since fall is upon us I decided that a fall tree would be more appropriate (warm colors).  Also I wasn't in love with the green florist wire showing up on a brown tree limb so I decided to paint the tree branches black first and then buy black crafting wire instead.  It turned out (or is turning out) to look pretty darn great if you ask me.

Materials / Cost
- tree branches / FREE
- paint / FREE
- scrapbook paper / $2.00
- wire / $3.00
- vase / $1.50 at my local thrift store (or free if you have one in storage)

it's a work in progress

- I found a branch someone had pruned off their maple tree during an evening walk and felt it was fate speaking to me about this project that I had bookmarked in my brain for the last couple of weeks.

- I peeled all of the leaves off and painted it black with some indoor/outdoor acrylic paint I had lying around.

- I cut my leaf patterns out of scrapbook paper using a leaf that was on the tree.  I folded my paper into pieces wide enough to fit the leaf and then after cutting one leaf out used this are my pattern.  I matched up the same paper for both sides of the leaf.

- Then I glued the paper onto the wire as instructed in the tutorial.  I also decided that the leaves look more natural with a little curve to them.

The end.  Super easy.  Super cheap.  Hoping to enjoy it for seasons to come.

Friday, September 16, 2011

Halloween Tutu Costume(s)


I have twin girls and wanted to do something similar but not identical for their costumes this year (while I'm still in charge of choosing them...they'll be 10 months old).  I looked into purchasing costumes and although some were in our price range (Princess Leia for $10...heck yah) there were no two related costumes that were on the cheap side.  I saw some adorable ladybug and bumble bee costumes but didn't want to pay the $18 + shipping price tag.  So I determined to make their costumes...hopefully just as cute. 
Costume essentials:
-black onsie (for bee) or red onsie (for ladybug)
-elastic (I used 1/4" width)
-tulle (red and black OR yellow and black)
-yellow ribbon (bee) or black fabric (ladybug)
-wings (hanger and nylon knee highs - more details to follow on these as the pictures were my trial run)
-antenna (hair barrette and black pipe cleaner)

Gear needed:
-scissors
-needle/thread or sewing machine (to join elastic waistband)
-glue (craft or Elmers) and glitter 
-hanger or 12 gauge wire
-hot glue gun and glue sticks

Running Cost total:
- $3.50 each for onsies at the second-hand store
- $1.50 each for tulle at the fabric store (on sale .99c a yard; regularly $1.99 a yard)
- $0.33 each for knee highs (the kind in the plastic bubble)
- $1.30 for glitter 
- $1.50 for craft glue
- $0.79 for black pipe cleaners (25 in pack)
- $2.50 for 3 pairs of tights (red, black and white--reusable of course)
-  Free/on-hand  hair barrettes 
-  Free/on-hand hangers
-  Free/on-hand glue gun and glue sticks
-  Free/on-hand elastic 
-  Free/on-hand electrical tape 
Total cost:  $9.03 each (I split shared items in half--glue, pipe cleaners, tights)

Tutu/Skirt

 1.  Measure the length of tutu you want.  For my kiddos I decided about 9" would keep it long but not prevent crawling around.  Double this length or fold your tulle in half and measure the desired length.  It should be this length when doubled over.  Trim off excess. 
2.  Roll or fold your piece of tulle over itself.  Cut off a 1 1/2 to 2" piece.  Using this as a guide cut pieces along the length of the tulle.  The pieces you cut off should be your desired length when folded in half.  Continue to cut the 1 1/2 to 2" pieces until you reach the end of the "tulle roll".

*I am doing about a 2" piece for my tutus.  This just kind of depends on your preference for look*
3.  Measure your elastic length around your child's waist (or other intended).  Sew the ends of the elastic together to form a secure waist band (sorry I forgot the picture).

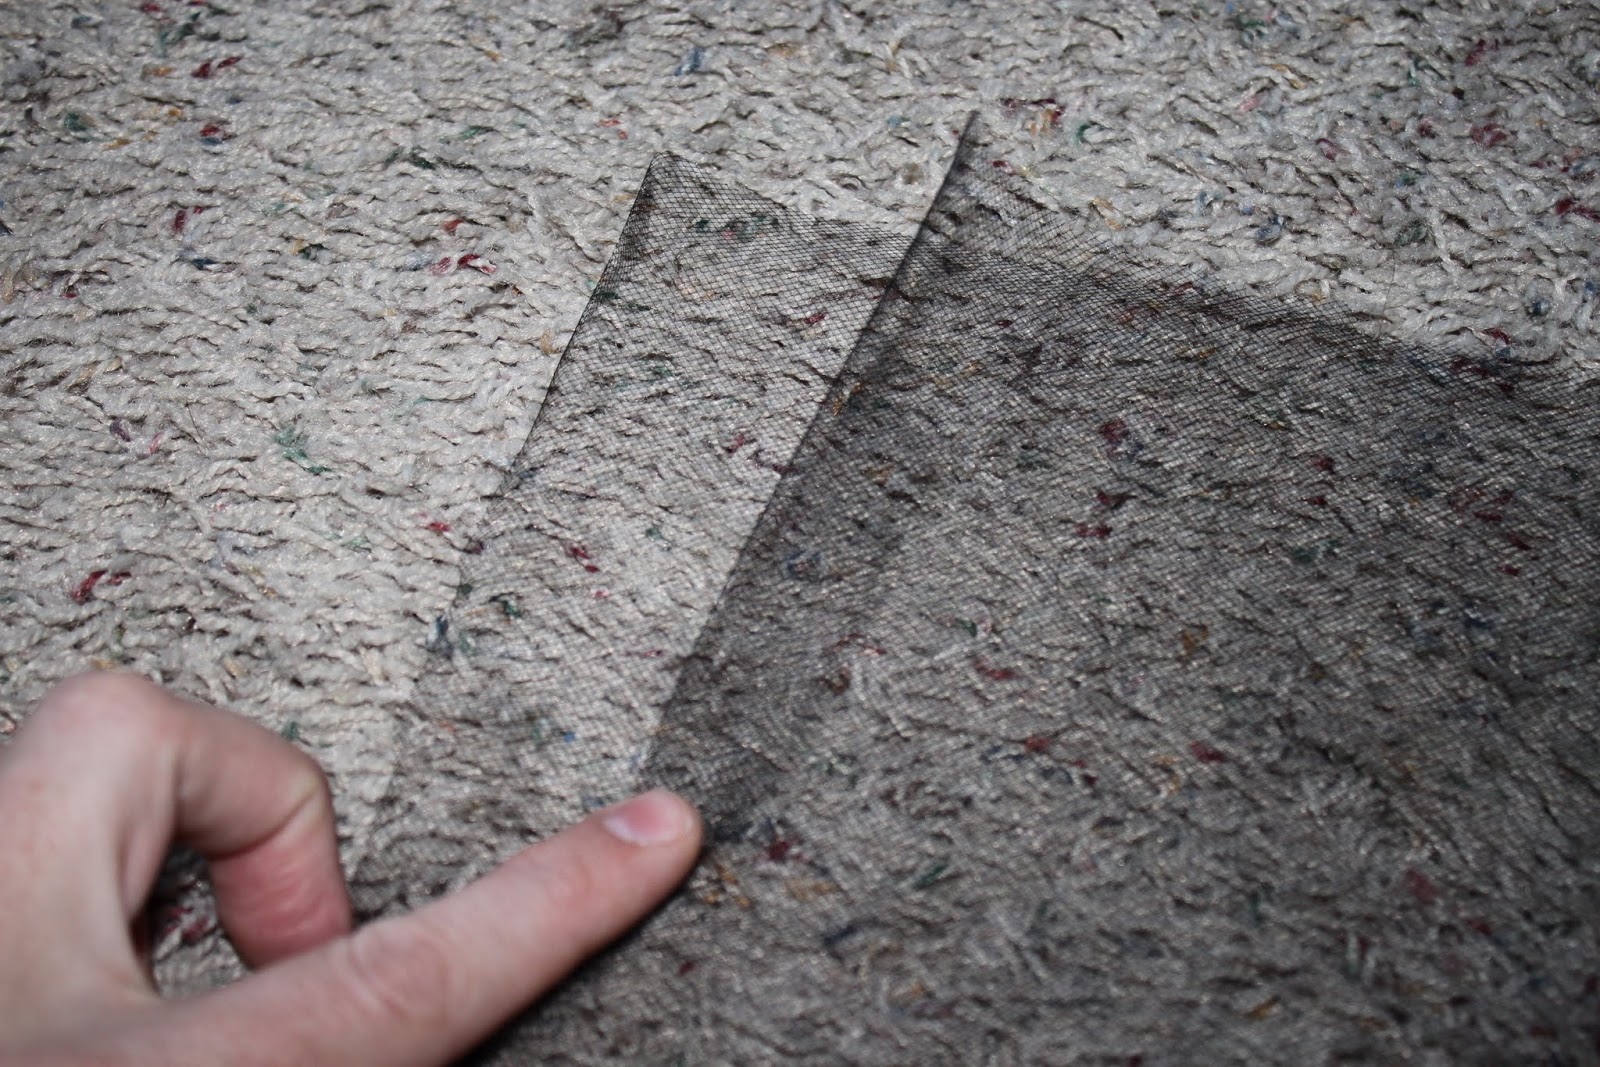
4.  Take a piece of tulle which is folded in half.  Lay the top/loop half of the tulle across your elastic band and then pull the two loose ends through the loop (forming a "knot" around the elastic).  Pull snug so that you can't see the elastic when tulle is bunched together.

 *yellow tulle beginnings...I used my feet to hold the elastic but I have seen this done on chair or such also*
*I was doing every other color but later did two yellow for every black (alternating) as I didn't want the tutu's to appear dark but more colorful. 
*keep repeating the steps until your elastic waist band is covered in your tulle tie offs* 

Wings -more direction/pictures to come on these.  The basics for now...

Bend a hanger into your wing shapes.  Pull a knee high over the top and either knot the knee high or tape with electrical tape.  Then determine and draw a design on the wing (if you want).  Using craft glue or Elmer's draw the design on the wing (I used a fabric marker first followed by glue) then sprinkle on your sparkles.  Dump off excess sparkles after a minute or so (I used a platter dish to keep it mess free).  I also took some of my extra tulle to wrap around the middle and cover the electrical tape.


Antenna:

Materials: 
-two black pipe cleaners
-one small hair clip
-one black headband with loop to put hair clip on
-small piece of black material (to cover hair clip)
-hot glue gun

 1.  Cover the top of hair clip with black material.  Attaching with glue gun.  I suppose you could also sew this on if you want. (this picture was before I decided to cover with material first and then wrap around the clip and material).
 2.  Bend your pipe cleaner in half.  Place on the ends and underside of clip and then wrap around the clip so that the pipe cleaner is snug and doesn't move.  Then wrap the pipe cleaner around itself.  About 1-1 1/2" from the tip wrap the pipe cleaner in one section to form a ball for antenna ends.

3.  Repeat step 2 for second pipe cleaner on opposite side of hair clip.  Compare length when you about to form the ball so that they are the same length.  Bend or curl to your style liking.  Attach to headband.

Shirt/Onsie

Materials: 
-Black shirt/onsie (bee) or Red shirt/onsie (lady bug)
-Yellow ribbon (I used 5/8" or 15mm width) or black material for lady bug dots
-hot glue gun
-lighter (used to prevent fraying of the ribbon ends)
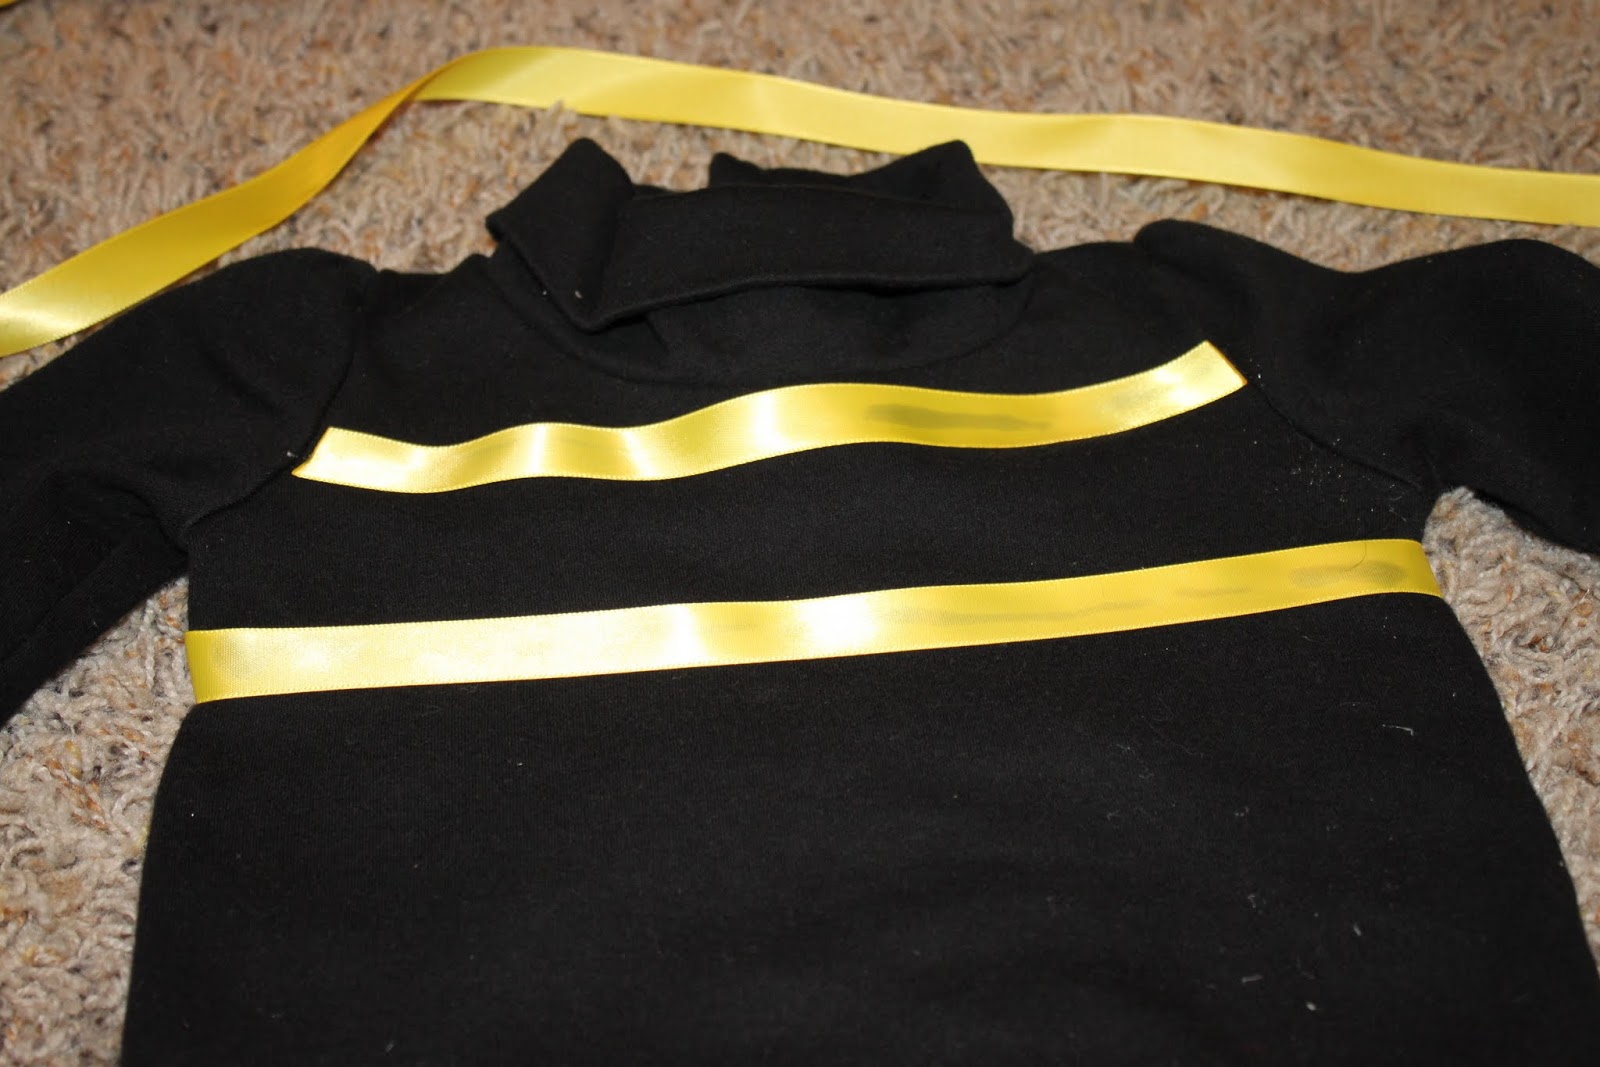
 1.  For the first piece across the chest (arm seam to arm seam) I trimmed my ribbon to fit the seams angle and then glued it down.  You can just slightly see the hot glue line under the ribbon so I darker yellow or sewing this one could possibly work better.
2.  For the other ribbons I started at one seam and then wrapped around the body of the shirt gluing it down as I went.  I finished off and glued the ribbon over itself where the ends met (using a lighter to prevent fraying of the ribbon). 

Finish product...I still need to do the lady bug and will post more instruction on the wings at that time

**MORE TO COME on this tutorial*

Thursday, April 14, 2011

Picture board

We have probably all seen these at craft stores over the years.  This is one that I made a few years back for pretty cheap.  I had the framed cork board at work and decided to spruce up my office with some personal touches.  I bought enough fabric and batting to cover the piece and then added on flowers I had on hand and a butterfly that came with flowers my husband sent me.  

I hot glued the batting on first and made hospital corners on the edges to keep it neat and tidy.  Next I stretched out the fabric across it, first somewhat loosely vertically and then snugged it up horizontally to avoid creases and folds in the fabric.  Once the fabric was all securely glued down I added my flowers and butterfly.

 I trimmed the flower stems off so there was just enough to hold the material and flower together and then applied a large glob of hot glue to the fabric.  This kept the flower close to the fabric without a gap.  The butterfly was on a straight pin of sorts and I slid that into the flower and into the cork below the fabric.  A touch of hot glue kept this in place.
Voila! There you have it...a decorative cork board for pictures with minor cost and less then a couple hours spent on it.  This was considered under $10 as I had the cork board on hand.