I have twin girls and wanted to do something similar but not identical for their costumes this year (while I'm still in charge of choosing them...they'll be 10 months old). I looked into purchasing costumes and although some were in our price range (Princess Leia for $10...heck yah) there were no two related costumes that were on the cheap side. I saw some adorable ladybug and bumble bee costumes but didn't want to pay the $18 + shipping price tag. So I determined to make their costumes...hopefully just as cute.
Costume essentials:
-black onsie (for bee) or red onsie (for ladybug)
-elastic (I used 1/4" width)
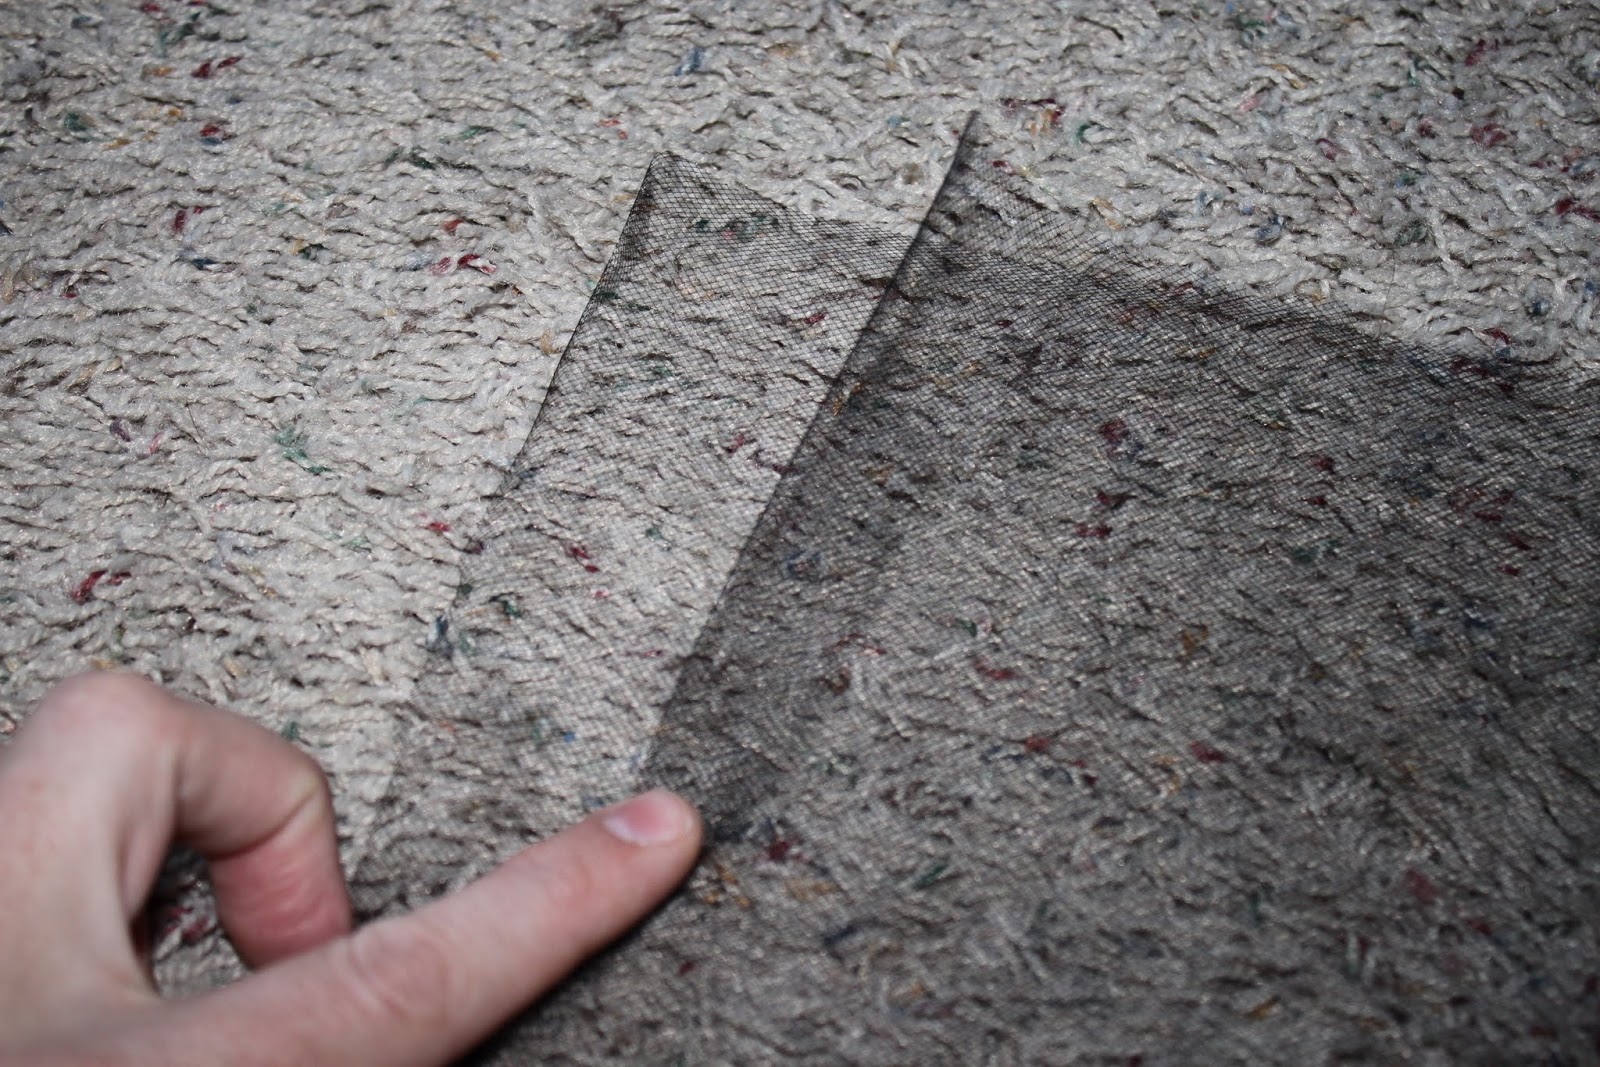
-tulle (red and black OR yellow and black)
-yellow ribbon (bee) or black fabric (ladybug)
-wings (hanger and nylon knee highs - more details to follow on these as the pictures were my trial run)
-antenna (hair barrette and black pipe cleaner)
Gear needed:
-scissors
-needle/thread or sewing machine (to join elastic waistband)
-glue (craft or Elmers) and glitter
-hanger or 12 gauge wire
-hot glue gun and glue sticks
Running Cost total:
- $3.50 each for onsies at the second-hand store
- $1.50 each for tulle at the fabric store (on sale .99c a yard; regularly $1.99 a yard)
- $0.33 each for knee highs (the kind in the plastic bubble)
- $1.30 for glitter
- $1.50 for craft glue
- $0.79 for black pipe cleaners (25 in pack)
- $2.50 for 3 pairs of tights (red, black and white--reusable of course)
- Free/on-hand hair barrettes
- Free/on-hand hangers
- Free/on-hand glue gun and glue sticks
- Free/on-hand elastic
- Free/on-hand electrical tape
Total cost: $9.03 each (I split shared items in half--glue, pipe cleaners, tights)
Tutu/Skirt
1. Measure the length of tutu you want. For my kiddos I decided about 9" would keep it long but not prevent crawling around. Double this length or fold your tulle in half and measure the desired length. It should be this length when doubled over. Trim off excess.
2. Roll or fold your piece of tulle over itself. Cut off a 1 1/2 to 2" piece. Using this as a guide cut pieces along the length of the tulle. The pieces you cut off should be your desired length when folded in half. Continue to cut the 1 1/2 to 2" pieces until you reach the end of the "tulle roll".
*I am doing about a 2" piece for my tutus. This just kind of depends on your preference for look*
3. Measure your elastic length around your child's waist (or other intended). Sew the ends of the elastic together to form a secure waist band (sorry I forgot the picture).
4. Take a piece of tulle which is folded in half. Lay the top/loop half of the tulle across your elastic band and then pull the two loose ends through the loop (forming a "knot" around the elastic). Pull snug so that you can't see the elastic when tulle is bunched together.
*yellow tulle beginnings...I used my feet to hold the elastic but I have seen this done on chair or such also*
*I was doing every other color but later did two yellow for every black (alternating) as I didn't want the tutu's to appear dark but more colorful.
*keep repeating the steps until your elastic waist band is covered in your tulle tie offs*
Wings -more direction/pictures to come on these. The basics for now...
Bend a hanger into your wing shapes. Pull a knee high over the top and either knot the knee high or tape with electrical tape. Then determine and draw a design on the wing (if you want). Using craft glue or Elmer's draw the design on the wing (I used a fabric marker first followed by glue) then sprinkle on your sparkles. Dump off excess sparkles after a minute or so (I used a platter dish to keep it mess free). I also took some of my extra tulle to wrap around the middle and cover the electrical tape.
Antenna:
Materials:
-two black pipe cleaners
-one small hair clip
-one black headband with loop to put hair clip on
-small piece of black material (to cover hair clip)
-hot glue gun
1. Cover the top of hair clip with black material. Attaching with glue gun. I suppose you could also sew this on if you want. (this picture was before I decided to cover with material first and then wrap around the clip and material).
2. Bend your pipe cleaner in half. Place on the ends and underside of clip and then wrap around the clip so that the pipe cleaner is snug and doesn't move. Then wrap the pipe cleaner around itself. About 1-1 1/2" from the tip wrap the pipe cleaner in one section to form a ball for antenna ends.
3. Repeat step 2 for second pipe cleaner on opposite side of hair clip. Compare length when you about to form the ball so that they are the same length. Bend or curl to your style liking. Attach to headband.
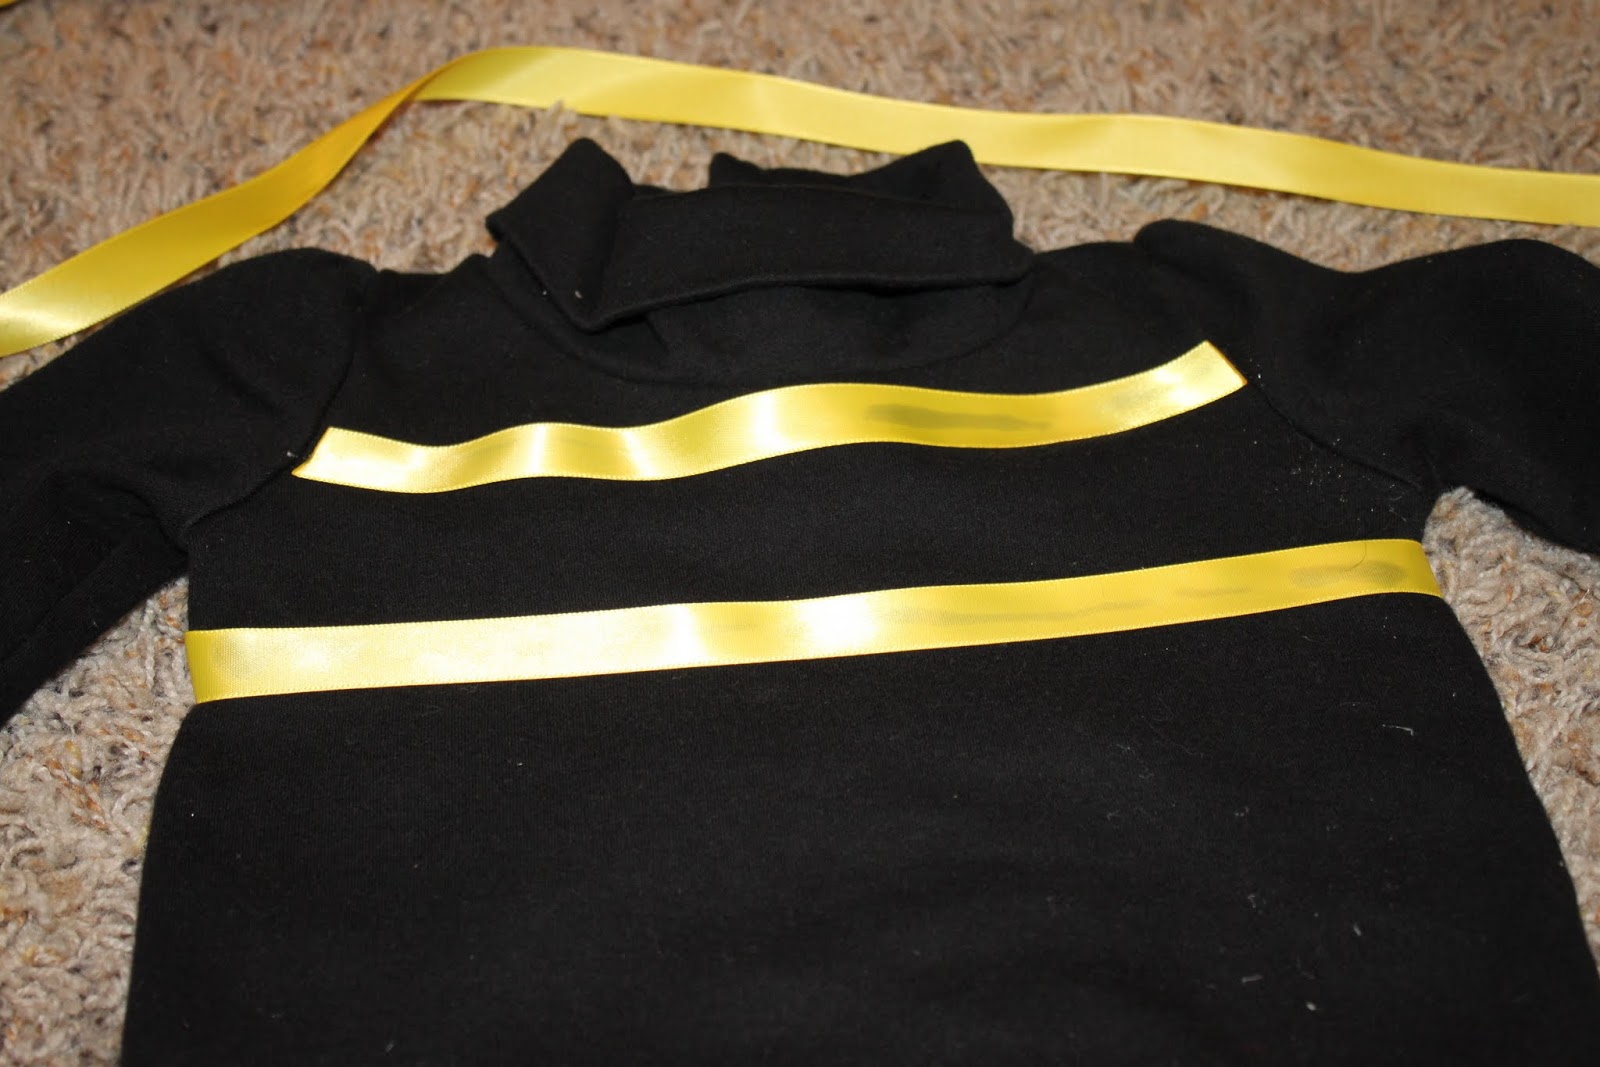
Shirt/Onsie
Materials:
-Black shirt/onsie (bee) or Red shirt/onsie (lady bug)
-Yellow ribbon (I used 5/8" or 15mm width) or black material for lady bug dots
-hot glue gun
-lighter (used to prevent fraying of the ribbon ends)
1. For the first piece across the chest (arm seam to arm seam) I trimmed my ribbon to fit the seams angle and then glued it down. You can just slightly see the hot glue line under the ribbon so I darker yellow or sewing this one could possibly work better.
2. For the other ribbons I started at one seam and then wrapped around the body of the shirt gluing it down as I went. I finished off and glued the ribbon over itself where the ends met (using a lighter to prevent fraying of the ribbon).
Finish product...I still need to do the lady bug and will post more instruction on the wings at that time
**MORE TO COME on this tutorial*