Most likely you are probably sick of the nursery bedding you picked out. But if you are like me and you made or bought new stuff for a convertible crib (that didn't convert :P grrrrr) then you may find yourself attached to bedding that hasn't had a chance to outgrow your kiddo. Bring on this great tutorial and idea on how to turn you bumper pads into a toddler bed size duvet cover.

Materials Needed:
- Comforter (toddler size; mine were purchased from IKEA for $15 each)
- 6 bumper pad covers (I used 3 3/4 front panels)
- Ribbon or bumper pad ties
- Scissors and/OR rotary cutter with matt and straight edge/ruler
- Sewing machine with matching thread
Step 1. Cut apart your bumper pads. I found that snipping one side free with scissors (as close to the seam as possible) and then rotary cutting the remaining sides worked best. Have I mentioned that I LOVE my rotary blade cutter and cutting matt (my hubs is the best). Arrange as shown below.
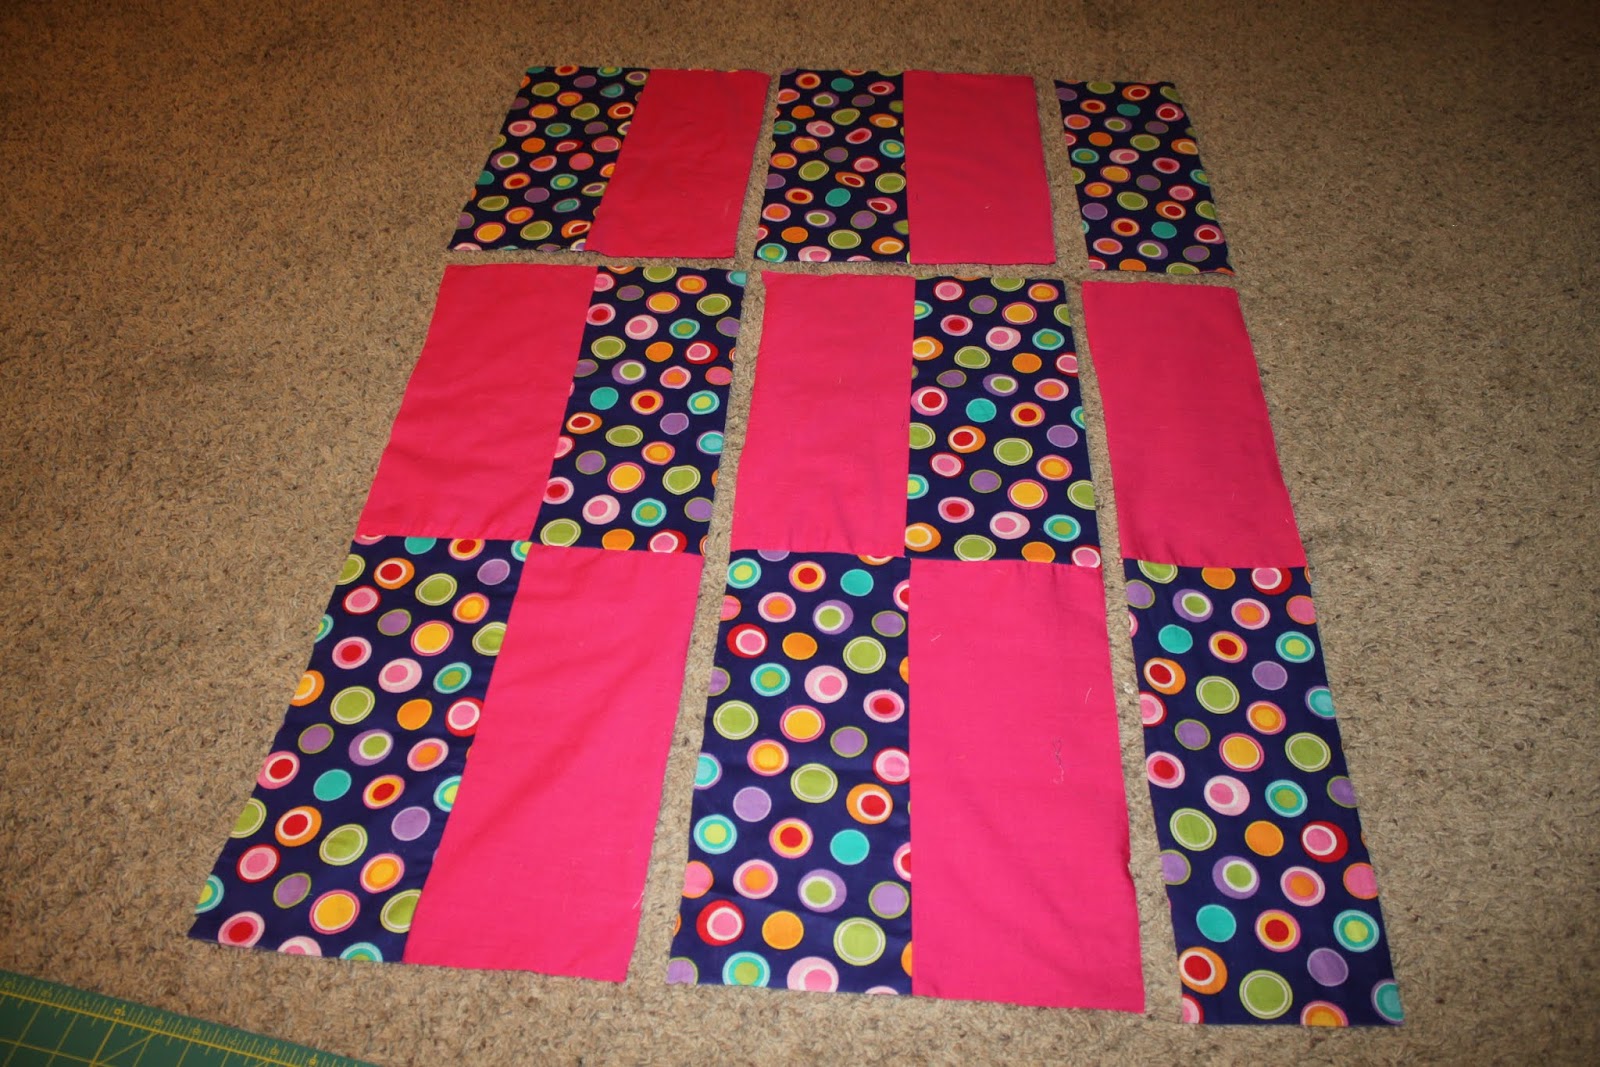
Step 2. Sew pieces together. I sewed my shorter pieces to each separate longer piece and then sewed the three final longer pieces together last. Next lay out and sew two of your bumper backings to the ends of the larger piece.

Step 3. Sew two bumper backing toe-to-toe to make a longer piece. Do this twice to make 2 separate pieces. These will be the side pieces to the duvet cover top.

Step 4. Measure your comforter and trim off excess material to your cover, include a seam allowance. Cut a back piece for the cover (I purchased a solid matching material for this). Sew these two large pieces together with right sides together, leaving one of the shorter sides OPEN. You should have something like a giant pillow case.


Step 5. Using the ribbons or ties from your bumpers or purchased ribbon, sew ties on corresponding opposite sides of the duvet cover. You could also use velcro, buttons or snaps to close the duvet cover.

1 comment:
Great idea!
Post a Comment